Friday 27 May 2011

Ink on paper

I thought you might like to see some of  the wonderful ink on paper patterns and effects we created last Saturday, experimenting with different materials:_

We worked on blotting paper
Cut up into small rectangles
Using cottons buds different coloured inks were dropped and dapped onto the blotting paper

It was fun to watch how the blotting paper soaked up the inks

It was interesting to see how some inks seemed to spread out across the paper more than others

Some of the inks separated out into different colours

Dots and circles were drawn onto the paper using felt pens

We also experimented with watercolours

It was great to see you all experimenting with the inks in different ways and using different colours.  It might be fun to see if this process works on different sorts of paper like kitchen paper or even damp tissue paper. 

Remember no Art Box tomorrow (Saturday 28th June) - as it is half term, but keep 'arting' at home and let me know what you think about the art work by clicking on the comments box below.

Meanwhile, have a great half term and see you on Saturday 4th June,
Till then have fun making art!

Sue

Tuesday 24 May 2011

art and clay

Two cats are better than  one!
This week we went animal crackers, making all sorts of clay animals.  The animals were modelled from photographs of pets and pictures from books and magazines
I have a cat just like this one!  But her whiskers aren't made of wire!
Oh! how did you get here Salty?

This beautiful cat was carefully modelled using air dry clay

The models were made by first shaping the body and head of the animal from two balls of clay and pressing them together.  Then the features were added, eyes, ears etc.  Once the clay is dry the models will be painted.    
Some of the models were made from paintings:

This is a wonderful painting of a snake done in an Aborginal style
This is a clay model of a snake, snoozing in the grass:

Here we have a colourful painting of a horse followed by some clay horses


However, I think my favourites might just be the hedgehogs:


The body of the hedgehogs were made from a ball of clay

Then the spikes were added by making small sauage shapes

Thes spikes were firmly pressed into the body

Finally,  eyes and button noses were added

Here we have a Meercat - not many of these in Cambridge!

I just can't wait to see the animals all painted!!!  Well done everyone for all your hard work.

Sue


Sunday 22 May 2011

How to make clay monsters using air dry clay

This is how to make an air dry clay monster.  First you need a cardboard tube, you can use the inside of a toilet roll.  Cut the tube to about half its length and pack it tightly with crunched up newspaper. 

Air dry clay monster drying in the sun
Using a rolling pin, roll out a rectangular piece of air dry clay big enough to fit around the cardboard tube, about 1 cm thick. Carefully, roll the clay around the cardboard tube, cut the clay to size and make a neat join along the length of the tube - use a damp sponge to smooth the join.  Trim the clay at the top and bottom of the tube, a bit like cutting pastry to fit a pie dish.   This is the body of your monster. 
Three monsters, one drying one waiting for hair and one finished
Next, to make the head roll some clay into a ball, check that the ball sits nicely on top of the clay body you have made, you might need to adjust the size of the ball.  Join the clay ball 'head' to the tube 'body' and smooth out the join by using a damp sponge.
All finished!
Now for the fun bit you can add eyes, noses, ears, beaks, mouths in fact anything you like. To stick one piece of clay to another, score the surfaces of the clay to be joined with a cocktail stick, dab on a bit of water and press firmly together. If you want to add feathers and/or pipe cleaners for hair, make several large holes, using a cocktail stick, (remember the clay will shrink as it dries) in the top of the head.  Add the 'hair' by slotting the feathers and pipe cleaners into the holes once the clay has dried and been painted (we used acrylic paints).


Wednesday 18 May 2011

Clay Monsters

We started off this week by making marbled paper, using special marbling inks.   About 4cm of water was put in a small bowl and a few drops of the  marbling inks added - using different colours.  The inks float on the surface of the water and when paper is added it picks up some of the ink and patterns are made on the paper, we got some fantastic results using this process.  For Mums who were asking me about the inks, I got them from an online company called NES Arnold. 


This shows a beautiful and very delicate pattern

These patterns are much bolder

The marbling patterns in this photograph were achieved by swishing the ink in the water

We did lots of experiments using different combinations of colours

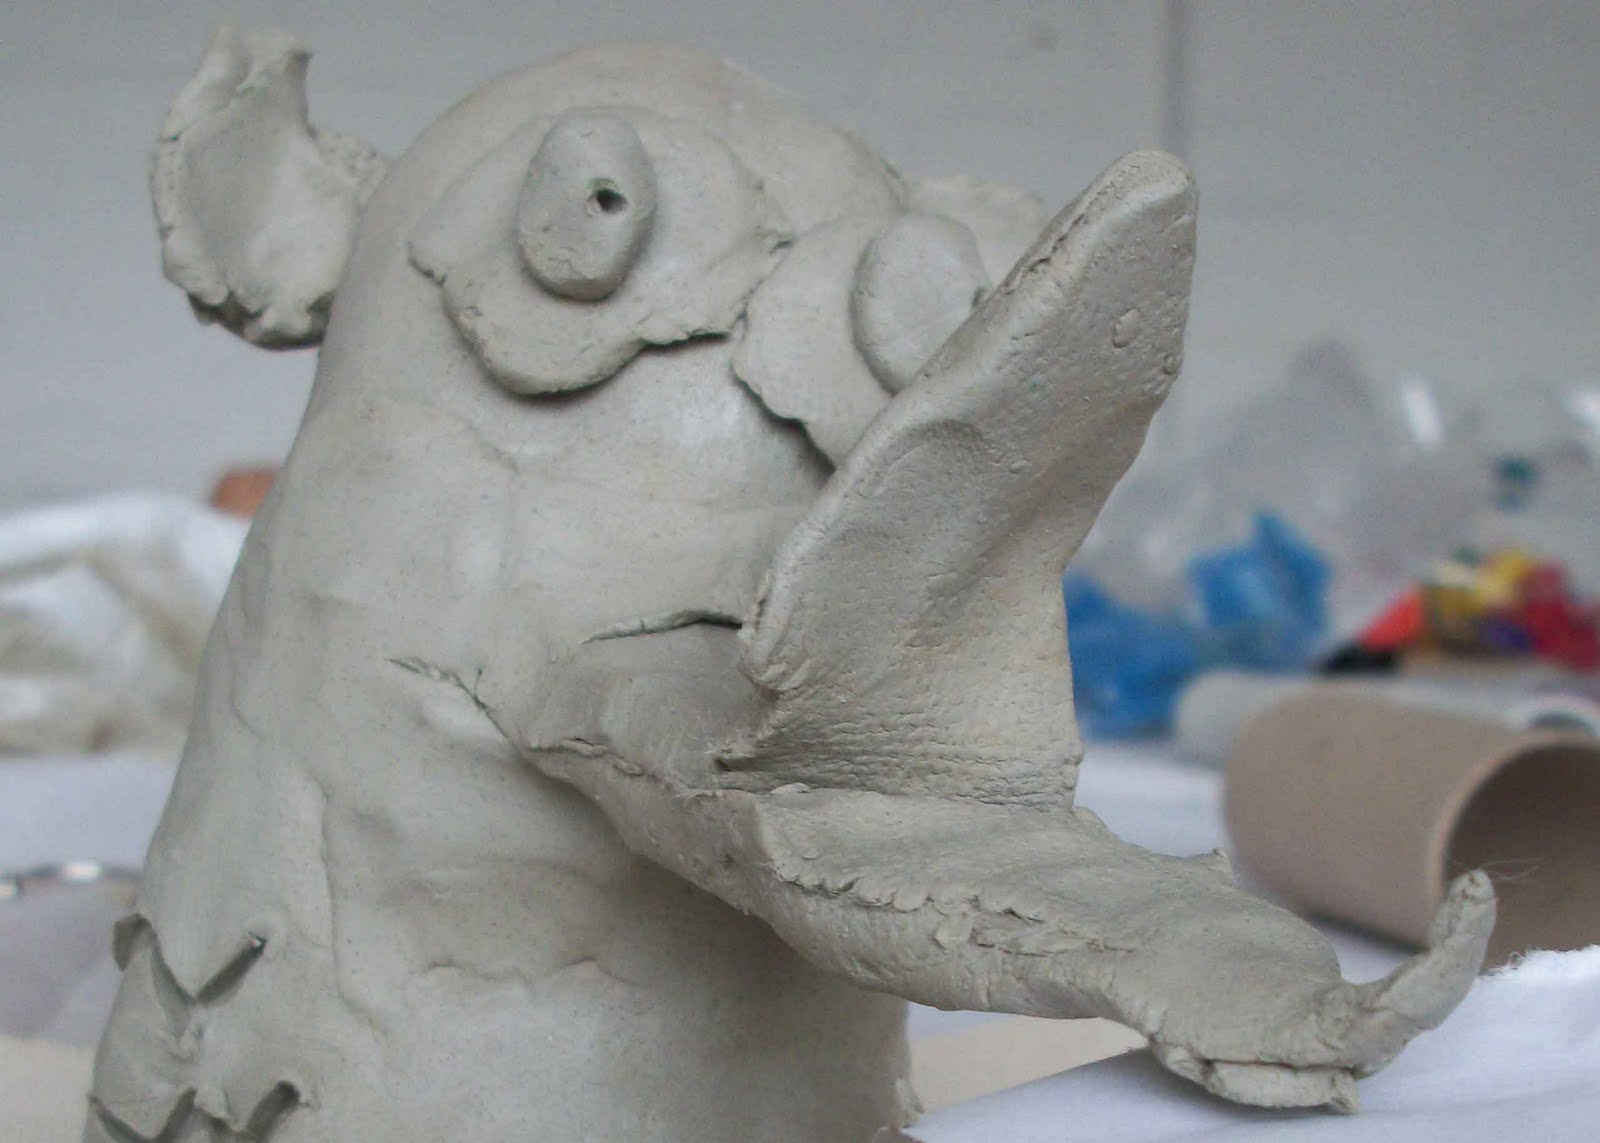
Perhaps you could turn some of the papers into covers for small sketch books.  Next it was time to paint the clay 'wide mouths' and 'beakies' we made last week.  They are just brilliant, I think some of the pipe cleaner and feather hair styles are great!!


Wow! I'm loving the eyes!

These two are just so cute

'Do you like my hair, just had it done today!'

'Say cheese!'

So much hard work went into making this chap - well done!

I really like this character, he reminds me of someone I know!

Isn't he fantastic?  You can just see the curly wire hair at the top of the photograph

brilliant, just brilliant!

Finally, just time for some art work for the folders we are using to keep work safe in:-


It was great that everyone did some thing different, there were collages
carefully drawn animals

bold stripes using pens and some painting


and can you spot the figure drawing (in the bottom right hand corner) and the collage using shiny papers studded with colourful gems which was very effective

Now to  our art explorer 'think sheets', this week made by Megan - thanks Megan, I like the dragon!  Oh by the way, colour of the week has to be .... red, yes again!! 


Thank you for all your hard work, have a great week and I'm looking forward to seeing you on Saturday for Animal Magic.  Please remember that when I said you could bring in a horse, if you could get it up the stairs - I was only joking!!  No elephants either!!

Thank you very much for your comment on last weeks blog!  More comments please.

Sue

Wednesday 11 May 2011

How to make wax resist pictures

Welcome to everyone!!!  Our first Saturday in our super, new light and sunny workshop space - hope you all like it as much as I do.  It was great to see you all working so hard and making some fantastic art.  Firstly, we did some wax resist images by taking rubbings from sheets of textured wallpaper - using wax crayons and oil pastel.

  Sheets of cartridge paper are placed over the textured surface of the wallpaper


We used different coloured wax crayons and oil pastels

Then using a selection of templates we drew shapes on the top of the rubbings
Then using either ink or watercolour paint we painted in the shapes or around the shapes
These are some of the finished pictures we made. 
We experimented with the ink sometimes using it quite thinly and sometimes using it thickly to get different effects
For this picture the background was painted with pink ink and the centre of the flowers were painted with yellow watercolour


Next we went onto make some clay 'wide mouth' sculptures, using air dry clay - they will all be ready for painting next week.  Here are the photographs of our 'work in progress'.  My cat called Pepper decided she wanted to sneak in on the photographs!

 
I really like the penguin ...

Can't a cat get some sleep around here!

'Did somebody say something ...'

'Hello - do you like our beaks'.

'Am I nearly finished'.

'Is is break time, I need a drink?'

'Anyone got the sun cream'

'Do you mind cat, I'm trying to have my photograph taken here'


'I'm in charge, you're just made out of clay'

'I wish I could fly'


Finally, we completed our 'think' sheets for art explorers - what we enjoyed doing, what we would like to do and any other important 'arty thinks' 

If you would like to design your own 'think sheet' have a go and bring it with you next week


Thanks you for all your hard work, have a great week and see you all on Saturday.

From Sue

PS. It would be good to hear from you, please leave a comment by 
clicking on the link at the end of this post. 

Comments:

Can't wait to paint the sculpture! Making it was fun!